 Sign in to Mod The Sims
 Redneck Set Part 1: PETS COMPATIBLE
 Redneck Set Part 1: PETS COMPATIBLE
MTS has all free content, all the time. Donate to help keep it running.
SCREENSHOTS


chimecans.jpg - width=800 height=600
chimecloseup.jpg - width=800 height=600
hood.jpg - width=800 height=600
hoodand engine.jpg - width=800 height=600
hooddown.jpg - width=800 height=600
plates.jpg - width=800 height=600
redneckset.jpg - width=800 height=600
seats.jpg - width=800 height=600
uvissue.jpg - width=1000 height=750
uvissue2.jpg - width=1000 height=750
recolorable.jpg - width=800 height=600


Fully tested for compatibility with the new "Pets" 1.26.89 patch
Redneck/Grunge Set Part 1
Included in this set are the following 7 items:
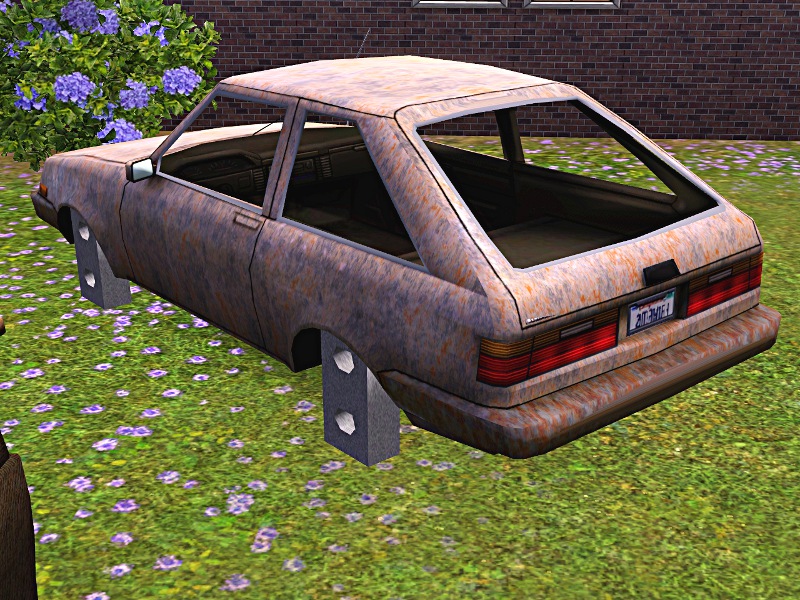
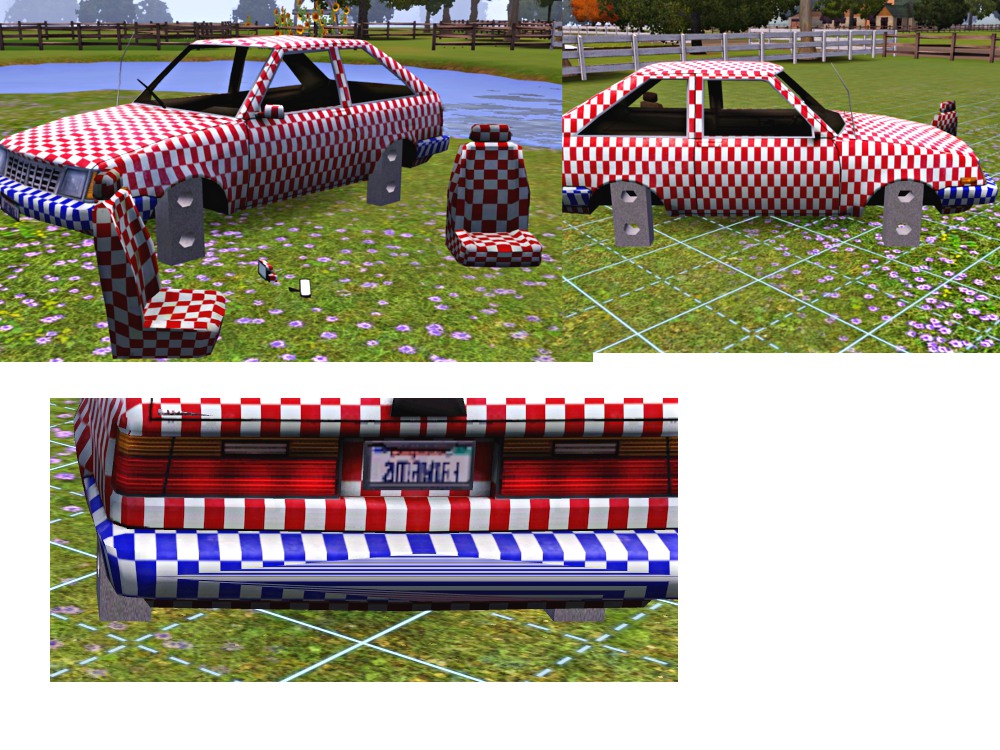
Car up on blocks (Decorative- definitely doesn't run) - 2 channel recolorable - cost: 147
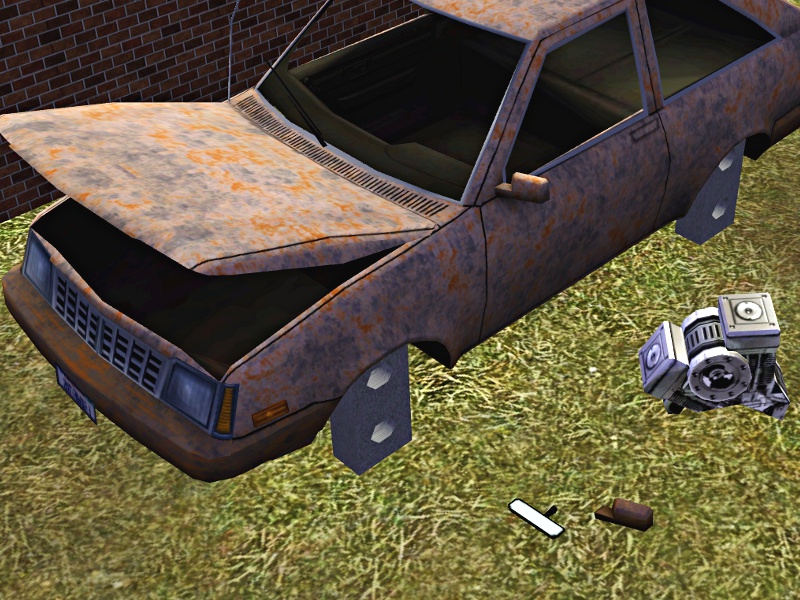
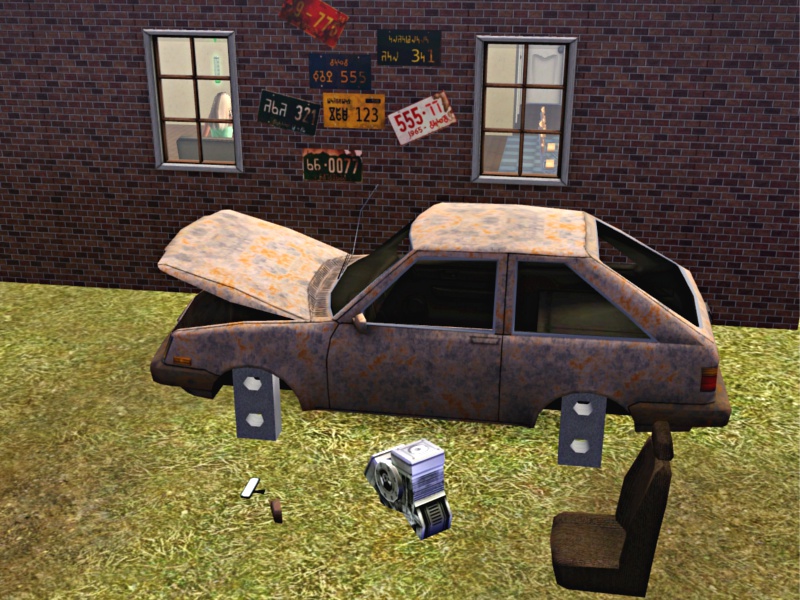
Car up on blocks version #2 with the hood up - 2 channel recolorable - cost:147
Car Seat -2 stencils - clean and dirty state - 1 channel recolorable - cost:20
Mirrors - 2 channel recolorable - cost:10
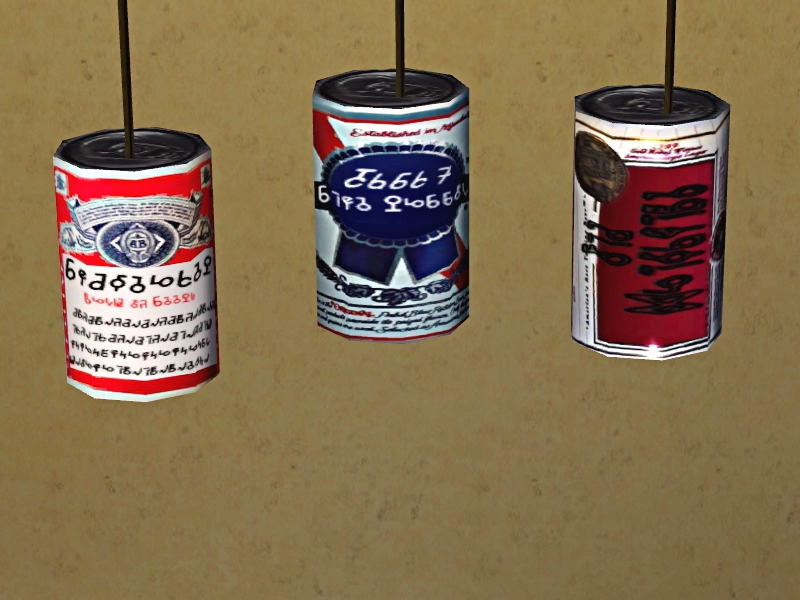
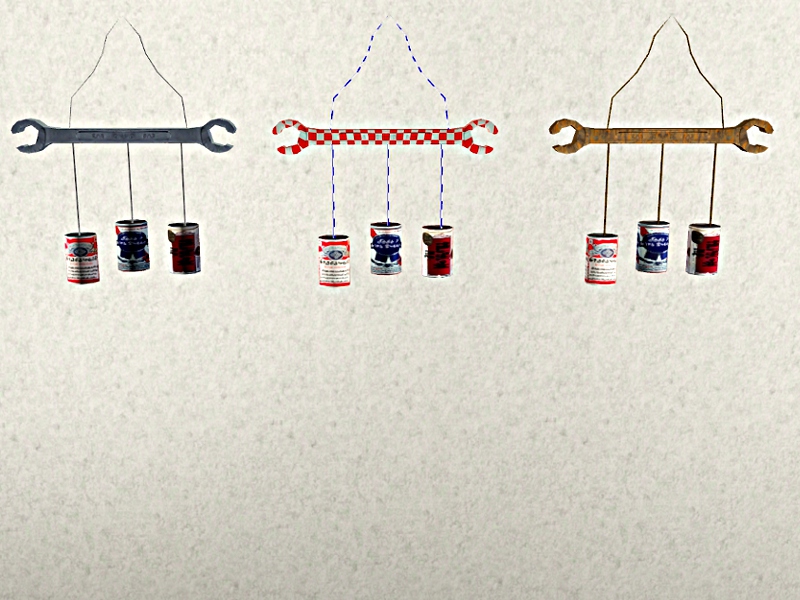
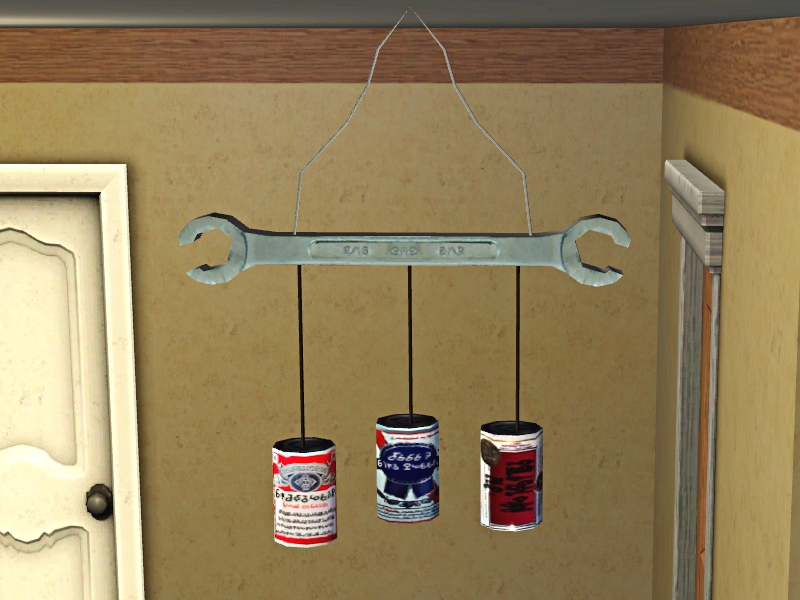
Beer can wind chime complete with realistic "Simlish" beers - Recolorable 2 channels - cost:10
Engine - cost:121
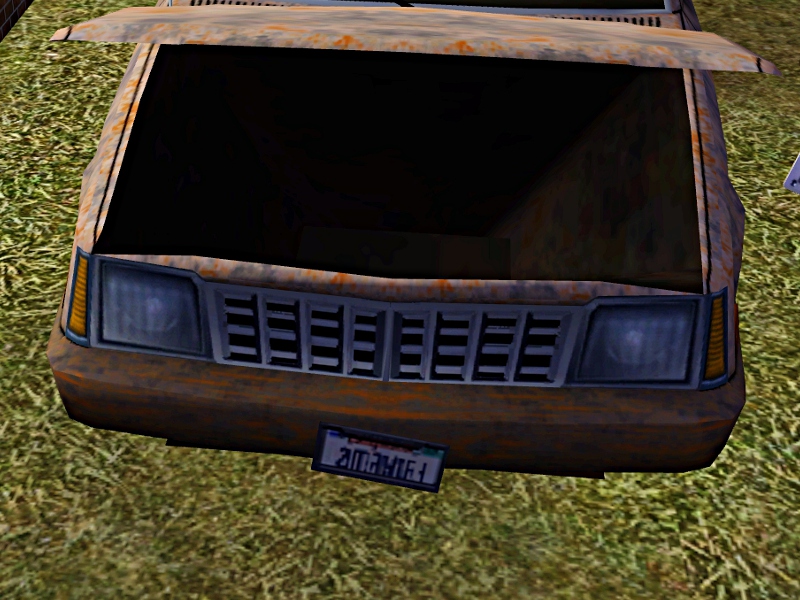
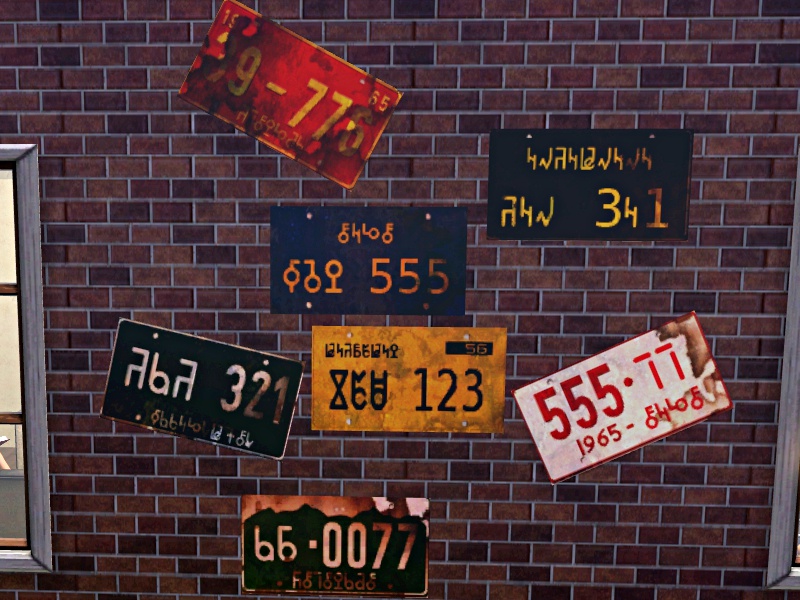
License plate wall mural (also in Simlish) - cost:15
All items are purely decorative. PS. For anyone offended by the tern, my being raised in Virginia/Tennessee my WHOLE life, I fully am allowed to use the term "redneck" LOL!!! ;-)
Issues:
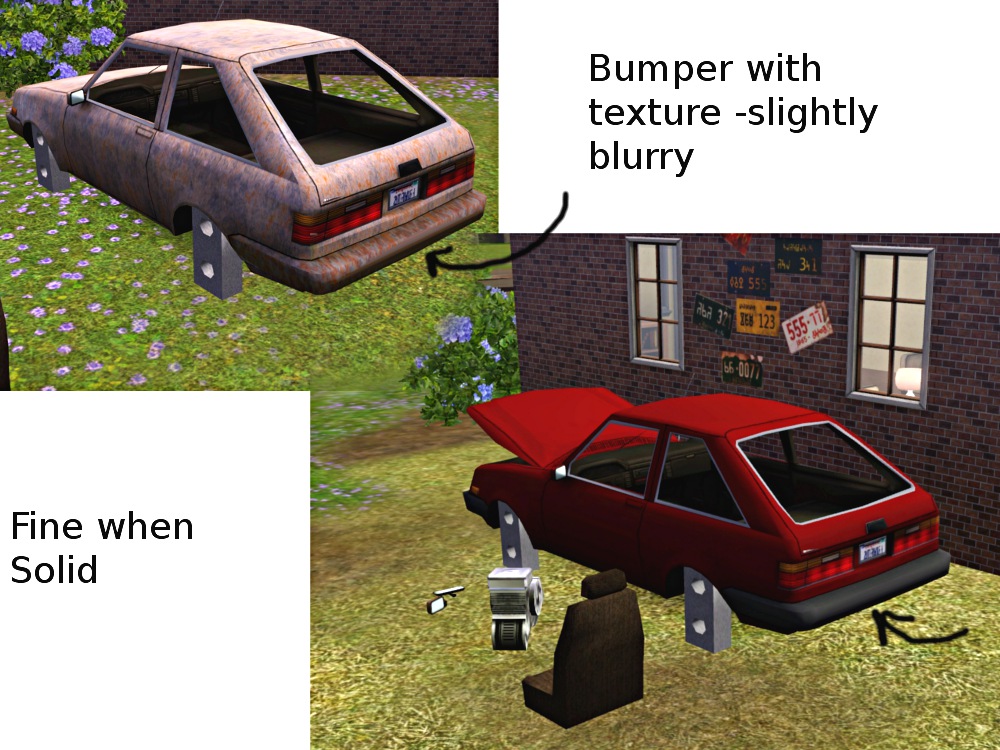
There is a small section on the rear bumper that I can't seem to map better (see pics below). I had to do some work on getting that car's original polycounts lower and the bumper is the only piece that I couldn't rearrange to match the original mapping. It's invisible with a solid texture bumper but you can see it slightly on the rust version. I don't think it's too much of a big deal but I wanted to let you know anyway.
Where are they?
Everything is found in their respective places (sinks, etc) but to keep everything organized and together, everything is also listed under miscellaneous decor as well. That way, when you're building your island, it's all right there together.
Will they work for your setup?
I am pretty sure that everything is base game compatible but I have all patches, and expansions installed.
What can you do with it?
Feel free to recolor it, retexture it, or anything you like. Just please credit me for the mesh.
Polygon Counts:
Car on blocks: 1736
Car with hood up: 1868
Seat: 179
Mirrors: 119
Windchime: 486
Engine: 196
License Plates: 154
Additional Credits:
Made withGimp
TSR Workshop
UV Mapper
Milkshape 3D
Simlish font (if used in this creation) by inkandchaos http://www.modthesims.info/download.php?t=355657
This is a new mesh, and means that it's a brand new self contained object that usually does not require a specific Pack (although this is possible depending on the type). It may have Recolours hosted on MTS - check below for more information.
| Filename | Size | Downloads | Date | |||||
|
Redneck Stuff Pack_part 1.rar
Size: 4.16 MB · Downloads: 6,481 · 25th Oct 2011 |
4.16 MB | 6,481 | 25th Oct 2011 | |||||
| For a detailed look at individual files, see the Information tab. | ||||||||
Key:
- - File was updated after upload was posted
Install Instructions
Quick Guide:
1. Click the file listed on the Files tab to download the file to your computer.
2. Extract the zip, rar, or 7z file. Now you will have either a .package or a .sims3pack file.
For Package files:
1. Cut and paste the file into your Documents\Electronic Arts\The Sims 3\Mods\Packages folder. If you do not already have this folder, you should read the full guide to Package files first: Sims 3:Installing Package Fileswiki, so you can make sure your game is fully patched and you have the correct Resource.cfg file.
2. Run the game, and find your content where the creator said it would be (build mode, buy mode, Create-a-Sim, etc.).
For Sims3Pack files:
1. Cut and paste it into your Documents\Electronic Arts\The Sims 3\Downloads folder. If you do not have this folder yet, it is recommended that you open the game and then close it again so that this folder will be automatically created. Then you can place the .sims3pack into your Downloads folder.
2. Load the game's Launcher, and click on the Downloads tab. Find the item in the list and tick the box beside it. Then press the Install button below the list.
3. Wait for the installer to load, and it will install the content to the game. You will get a message letting you know when it's done.
4. Run the game, and find your content where the creator said it would be (build mode, buy mode, Create-a-Sim, etc.).
Extracting from RAR, ZIP, or 7z: You will need a special program for this. For Windows, we recommend 7-Zip and for Mac OSX, we recommend Keka. Both are free and safe to use.
Need more help?
If you need more info, see:
- For package files: Sims 3:Installing Package Fileswiki
- For Sims3pack files: Game Help:Installing TS3 Packswiki
Also Thanked - Users who thanked this download also thanked:
About Me
Use anything you want any way you want (FREE sites only) just throw me some credit for the meshes :-)
More Downloads BETA
Here are some more of my downloads: