Date Posted: 28th Oct 2007 at 1:27 PM
One of the things I like to do when I am making a set of walls for a furniture set is to make a solid color wall that matches whatever pattern I am using. I used to not to do this as most textures I had did not have a solid texture that matched. Below is a short, but life saving (ok, maybe not life saving, but wall saving) method I use for creating textures out of fill buckets.
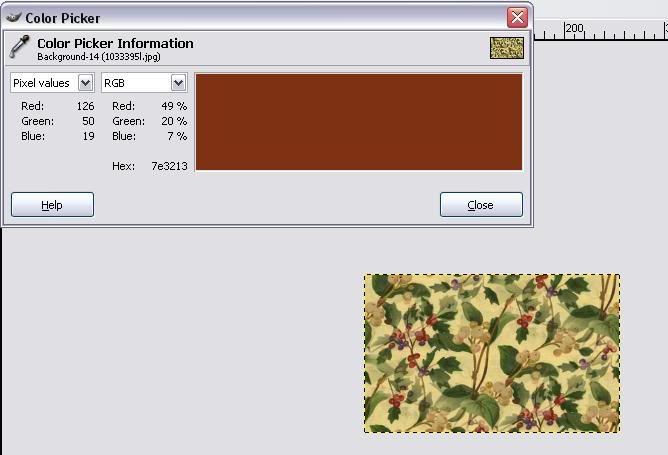
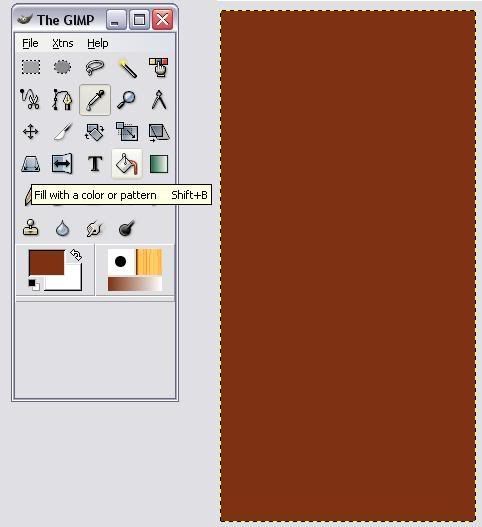
1. Open any texture. Use the eye dropper tool and pick a color from the texture.
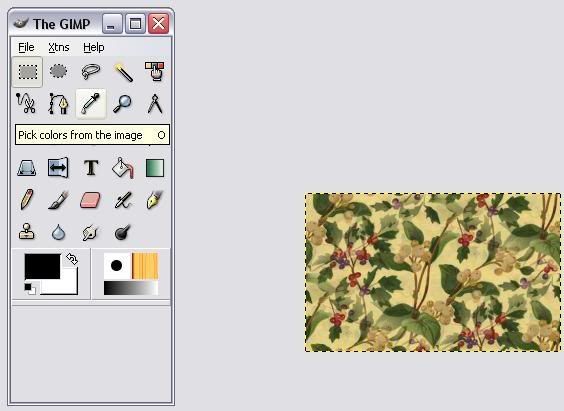
2. As you see I have picked a reddish color from the texture. *Note: Darker colors do better for this tutorial*
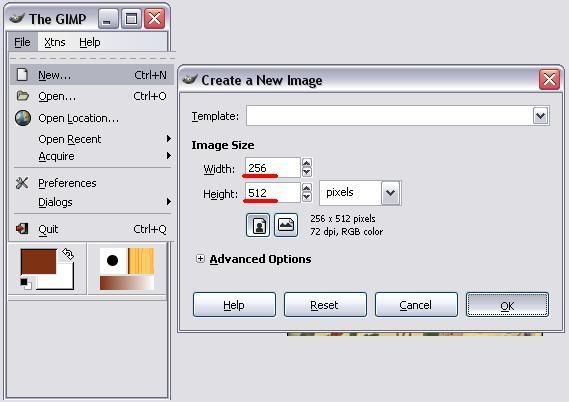
3. Now click on file->new and a screen should pop up . You will want the size to be 256 x512 <~~~This is the size of the default Maxis template for homecrafter, I always use this size so that Mac users will be able to use my walls.
4. Using the "fill bucket" tool fill in the new picture you have created.
5. Next go to filters -> Artistic ->GIMPressionist
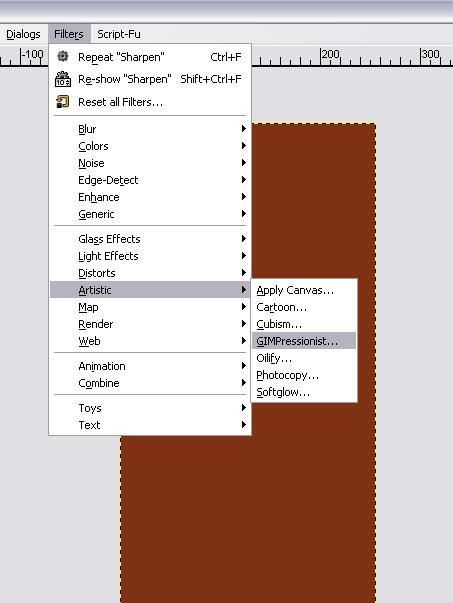
6. A window should pop up, go over to brushes and then to fabric. You can choose any one of the fabrics you desire, I am using #2 for this tutorial. Click update if you wish to see what the texture will look like prior to clicking OK. If the texture is to your liking, click "OK."

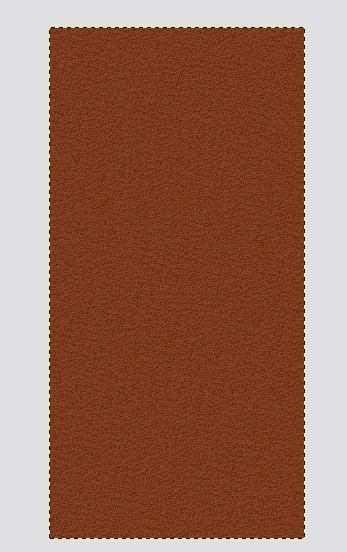
7. You have clicked "OK" and now you have a spiffy new texture.
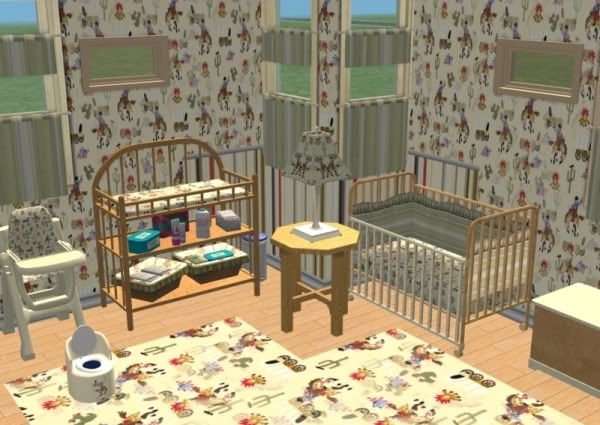
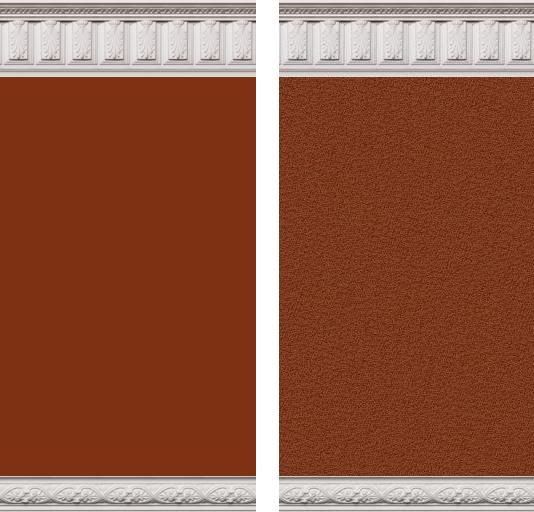
8. Last but not least, I have placed railing on the fill bucket wall and on our new texture wall so you could see the difference the texture process makes.
 Sign in to Mod The Sims