Hi there! You are currently browsing as a guest. Why not create an account? Then you get less ads, can thank creators, post feedback, keep a list of your favourites, and more!
Quick Reply
Search this Thread
Sockpuppet
#26 Old 16th May 2012 at 10:11 PM Last edited by BloomsBase : 17th May 2012 at 2:49 PM.
Here you go, i roughly mapped one window.
I did cheat a little so you might have to finetune.
Wat i did:
Deleted complete back of the window
Deleted the left of the window
I changed a little thing in the center(splitup 2 faces, that all.)
I divided all parts in front/top/bottom/left and right
It was a huge ammount of work to regroup and map each part individually...so i cheated
I rotated the window 5 degrees on the x and mapped all top and bottom parts in one process
i reset it , then rotated it on the y and mapped all the parts from the right and left side the same way
That way i didn't had to seperate them all.
Also mapped the front parts.

I regrouped and duplicated/mirrored, duplicated again and mirrored.
So there is now only one window on the uvmap but the baked texture looks ok.
Advertisement
Field Researcher
Original Poster
#27 Old 16th May 2012 at 10:23 PM
Quote: Originally posted by BloomsBase
Here you go, i roughly mapped one window.
I did cheat a little so you might have to finetune.
Wat i did:
Deleted complete back of the window
Deleted the left of the window
I changed a little thing in the center(splitup 2 faces, that all.)
I divided all parts in front/top/bottom/left and right
It was a huge ammount of work to regroup and map each part individually...so i cheated
I rotated the window 5 degrees on the x and mapped all top and bottom parts in one process
i reset it , then rotated it on the y and mapped all the parts from the right and left side the same way
That way i didn't had to seperate them all.
Also mapped the front parts.

I regrouped and duplicated/mirrored, duplicated again and mirrored.
So there is now only one window on the uvmap but the baked texture looks ok.
Don't take this the wrong way but i love you :lovestruc testing it now to see how it is! BTW 2 other meshes need to be re-mapped

BTW since this is just 1 group will i just need to do the re-group thing to fill the other 4 group spaces needed?
Sockpuppet
#28 Old 16th May 2012 at 10:29 PM
its cool.
i might finish for private use.
The empty spot on the uvmap is perfect for recolourable glass

I dont know wat you mean by the grouping?
You have to clone a window and look how the setup is.
I think you have to splitup the back and the front and duplicate the glass for each side.
Alchemist
#29 Old 16th May 2012 at 10:32 PM
And look at that...all you had to do was pull the map away from the edge to make it work
Field Researcher
Original Poster
#30 Old 16th May 2012 at 10:43 PM Last edited by TDC95 : 17th May 2012 at 7:04 PM.
Quote: Originally posted by BloomsBase
its cool.
i might finish for private use.
The empty spot on the uvmap is perfect for recolourable glass

I dont know wat you mean by the grouping?
You have to clone a window and look how the setup is.
I think you have to splitup the back and the front and duplicate the glass for each side.
Ok thanks i tested and its perfect, i just need to figure out how to set up the groups correctly, its amazing!!!!!!!!! I cant believe this is working 
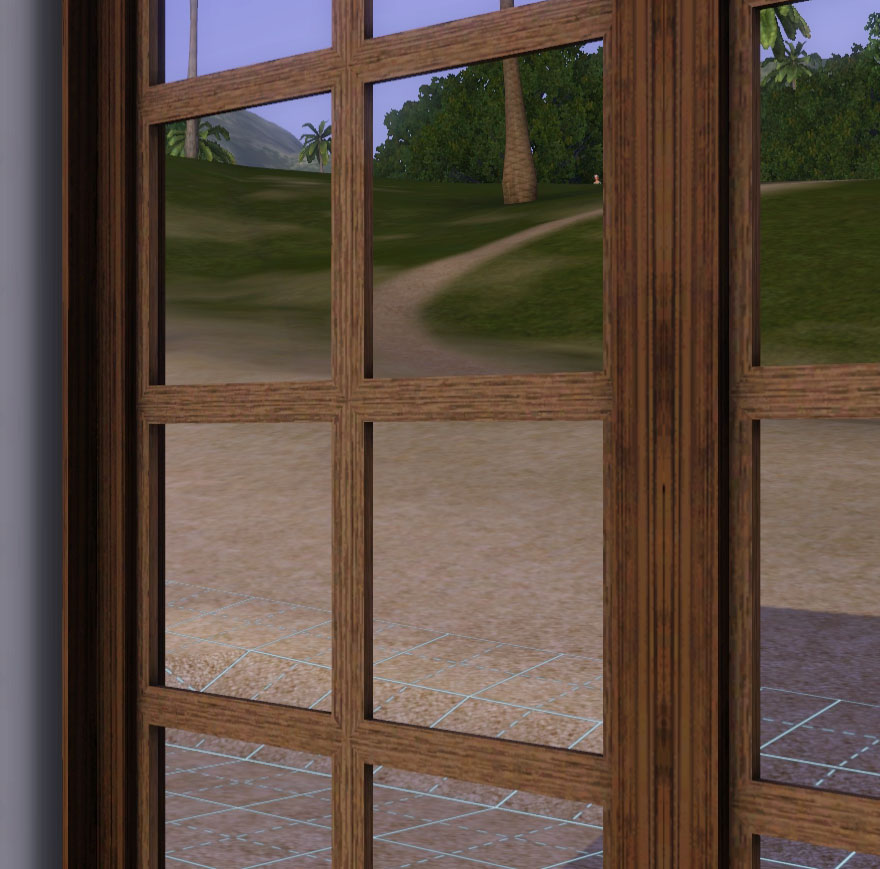
No stretching all looks great!

Want to look at the other 2 meshes? :P
Sockpuppet
#31 Old 17th May 2012 at 12:03 AM
no, its not perfect....
I made a bunch of mistakes
If you apply wood it doesn't make sence at all.
Ill redo a few parts, see if you like it.

I am not going to do them all, i am sorry.
I described wat i did, your turn now
Field Researcher
Original Poster
#32 Old 17th May 2012 at 12:41 AM
Quote: Originally posted by BloomsBase
no, its not perfect....
I made a bunch of mistakes
If you apply wood it doesn't make sence at all.
Ill redo a few parts, see if you like it.

I am not going to do them all, i am sorry.
I described wat i did, your turn now
ok ok, just thought I would ask I will definitely credit you for what you have done though I try and follow what you said! If you wanted to redo a few parts like you said I'd be more than glad for the assistance, also I feel like doing something in return for the help your getting a lot for the help! Same goes to you to orange mittens! You guys are great! I really need to learn to map properly since its something ill be doing a lot for my other projects. But I do like to cheat sometimes XD
Sockpuppet
#33 Old 17th May 2012 at 1:24 AM Last edited by BloomsBase : 17th May 2012 at 8:49 PM.
Here, i kinda finished it(i really like the mesh, must have it )
I remapped some parts so the wood pattern is correct and scaled the mesh a bit so i could make a decent wallmask text.
Haven't seen it ingame tho....
Let me know if you have it so i can remove all the files in this thread
Field Researcher
Original Poster
#34 Old 17th May 2012 at 8:00 PM Last edited by TDC95 : 17th May 2012 at 8:44 PM.
The window you made is acting strange, patterns are fine but the part of the mesh with the bars in-between the mesh is invisible you cant see it.

There is another project i'm working on that required the UV map to be updated, i'm going to give up on the windows for now and start working on them in a bit since its just stressing me out, and work on my other project its my arched pillar set, as you can see in the pictures below the UV mapping needs to be updated but in this case there is only 1 group since this is a pillar this will be much easier for me to work with. Now to fix the map on this thing i hit re-map as usual, good news is my patterns now lay perfect (unlike images below) but the masks blender keeps baking will leave a beam or 2 (the red part on the pictures below) with a pattern on it from another channel, it really frustrated me

also to be noted the pictures below are before i hit the re-map button how patterns lay'ed out on it.
Screenshots
Sockpuppet
#35 Old 17th May 2012 at 8:44 PM Last edited by BloomsBase : 17th May 2012 at 9:00 PM.
Well, that is not how you normally uvmap.
With meshes like this you create small part wat you map, then duplicate it so you dont have to do the others.
Since it was a huge ammount of work to seperate each single meshpart i decided to seperate only the top/bottom/right/left and front parts.
If i for instance would have mapped all the top parts they would have been on the same spot, on top of eachother wich gives a terrible result if you bake your texture.
That is why i rotated the mesh a little so all parts got mapped next to eachother.

I haven't seen the window yet but the clone had 2 more meshgroups listed then i needed so i divided the centerpart for those extra groups.
It is possible those groups are used for something else, got to look
All those bars i did remap, so you didn't see the result yet.

problem areas you often have to regroup and remap, there are tut's arround for mapping.
I once learned it from DR Pixel his shoe mappin tutorial.
Hope you understand i can not fix all those meshes.

Edit,
Those window groups dont support joints, very strange
First time i see this.
I duplicated the 2 others and delete the unsupported one, should work now.
Attached files:
File Type: 7z  window.7z (473.4 KB, 11 downloads) - View custom content
Field Researcher
Original Poster
#36 Old 17th May 2012 at 8:51 PM
Yeah i dont expect you to since this is my project, i just get frustrated with it all, im working on like 8 different projects at once and dealing with them all makes me want to scream
Sockpuppet
#37 Old 17th May 2012 at 9:01 PM Last edited by BloomsBase : 17th May 2012 at 9:39 PM.
lol, i know...i have tons of stuff
Added the window to the previous post, you really should check out the bars.
You might even consider to release both.


Edit,
btw, i only loaded one side of the window.
Did this on purpose so its worthless for greedy downloaders :P
Screenshots
Field Researcher
Original Poster
#38 Old 17th May 2012 at 10:54 PM
thanks again, it is a cool mesh is'nt it thats why i must finish it with the two tops that go on it to make it a 2 story window! :D
Field Researcher
Original Poster
#39 Old 24th May 2012 at 4:02 PM Last edited by TDC95 : 24th May 2012 at 4:14 PM.
Thanks for the help bloom, but i had to scrap your work sorry

i did finish all the windows by myself though attaching pictures for you to see

Just need to work on the wall mask on the one little square window and they are ready for uploading

But i also have this other project....... nightmare of work and i thought this was hard

Screenshots
Sockpuppet
#40 Old 25th May 2012 at 8:31 AM Last edited by BloomsBase : 25th May 2012 at 8:42 AM.
Looks cool altho i would like to see it with a wood pattern
Not 100% sure but viewing your screenshots all is mapped either horizontal or vertical wich(imo) doesn't give you a window like it is build in real life.

Field Researcher
Original Poster
#41 Old 25th May 2012 at 4:02 PM Last edited by TDC95 : 25th May 2012 at 5:44 PM.
Quote: Originally posted by BloomsBase
Looks cool altho i would like to see it with a wood pattern
Not 100% sure but viewing your screenshots all is mapped either horizontal or vertical wich(imo) doesn't give you a window like it is build in real life.

your correct Is it necessary or is it just to add more detail?

The pattern just lays the same all over, if the grain goes up on the pattern it does on all of the window, not like that picture of a real window good thing i kept your old file, though i will totally have to work on that multiplier it left visable seams on the window which make it look unrealistic -_- no matter what i do this window seeks to kill me
Sockpuppet
#42 Old 25th May 2012 at 6:58 PM
well, that is up to you
Paint covers it all up but im not sure if it gets accepted when uploading.

Maybe you have to rebake or use my texture, i forgot
Page 2 of 2
Back to top